Google Sheets Course: Inserting Images
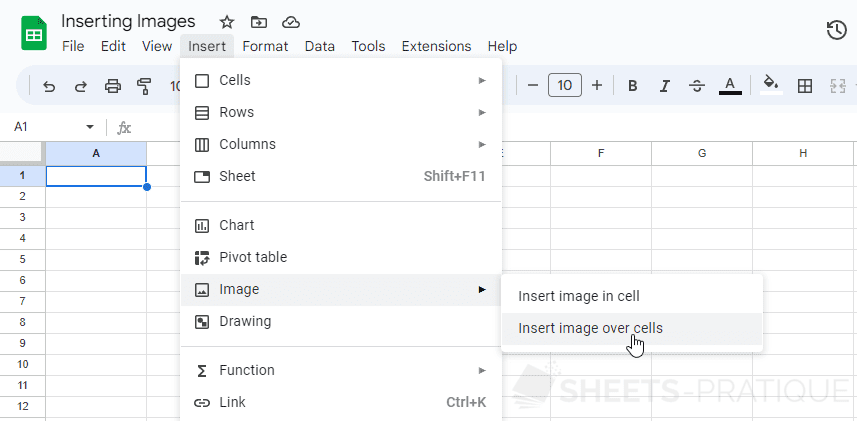
To insert an image onto your sheet, click on the Insert menu > Image > Insert image over cells:
Simply select the image to insert it onto the sheet:

Resize the image if necessary using the small blue squares located around the image.
Insert into a cell
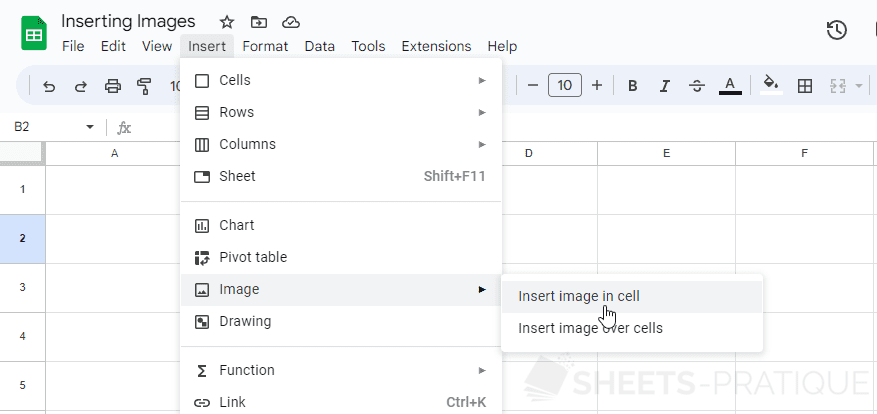
To insert an image into a cell, this time choose "Insert image in cell":
The image will then be inserted into the cell:
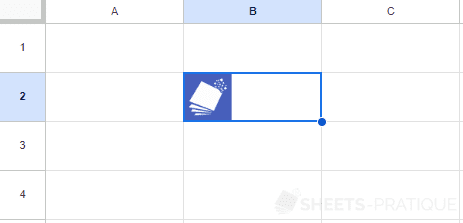
If necessary, you can modify the alignment of the image (horizontal or vertical ) and the cell's background color :
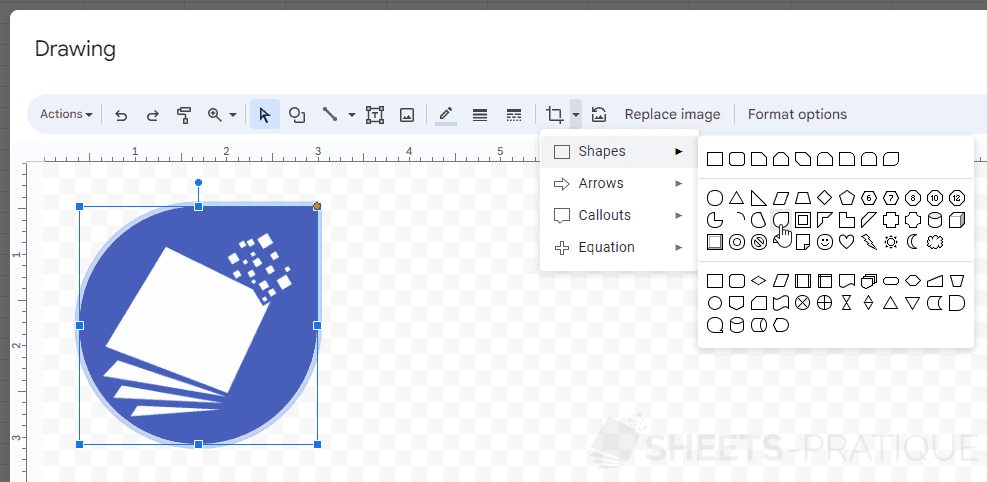
Drawing
You can also insert an image by clicking on Drawing in the Insert menu:
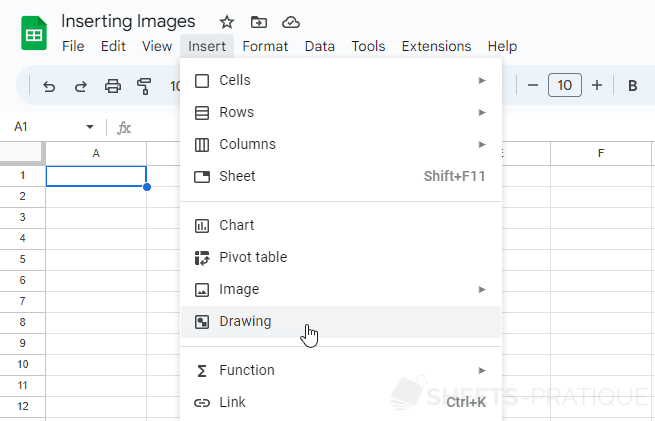
Then click on to insert your image:
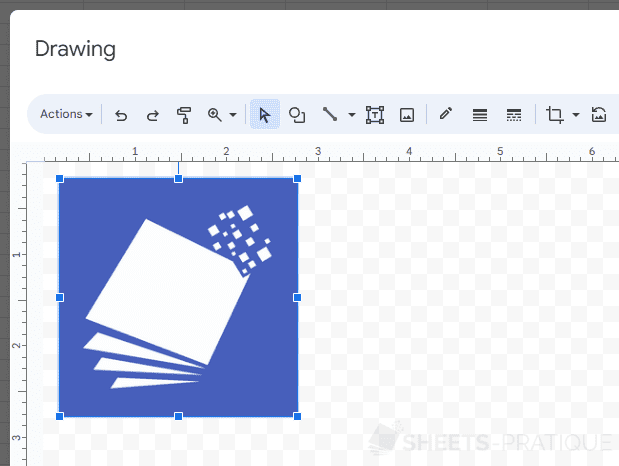
By choosing to go through the insertion of a Drawing instead of a simple image insertion (seen at the beginning of the page), this allows for more possibilities to modify the appearance of the image:
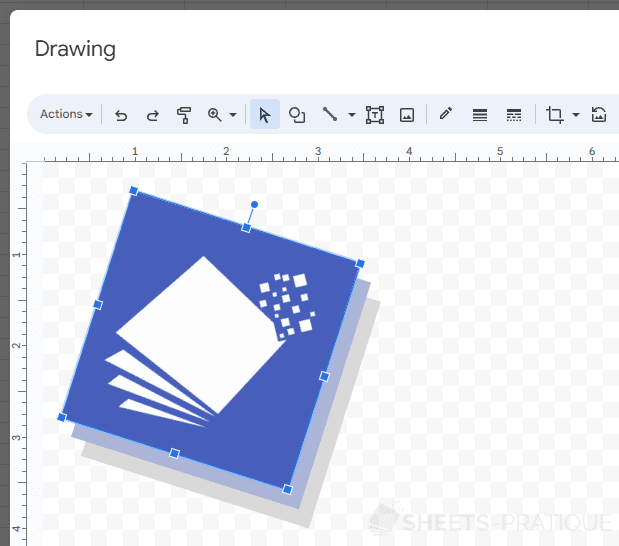
In this example, 2 square shapes have been added to the back. The 3 objects were then selected and rotated.
It is also possible to add borders to the image and crop it according to a shape (here, a teardrop):