Google Sheets Course: Document and Saving
This first lesson will teach you the basic manipulations to get started with Google Sheets, which will be useful for the upcoming lessons.
Whenever it is mentioned to click, it refers to left-clicks unless specified otherwise.
New Spreadsheet
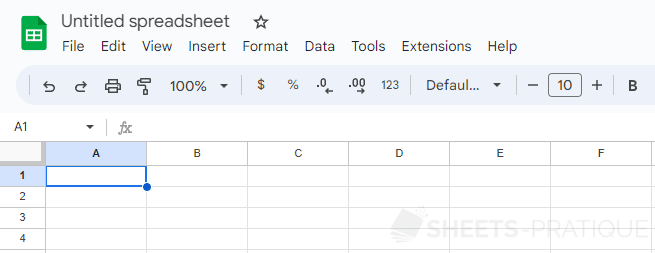
In the previous page, you have already created a new document:
Start by renaming your document by clicking on its name in the top left corner:
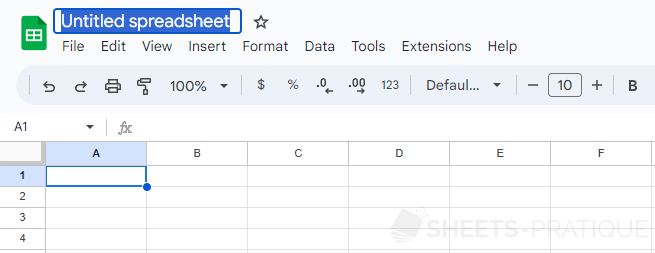
Enter the new name and press Enter to confirm:
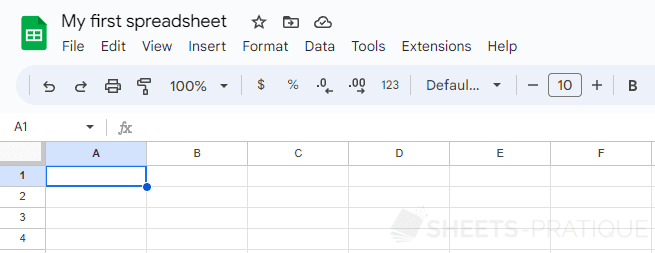
Your document has been successfully renamed.
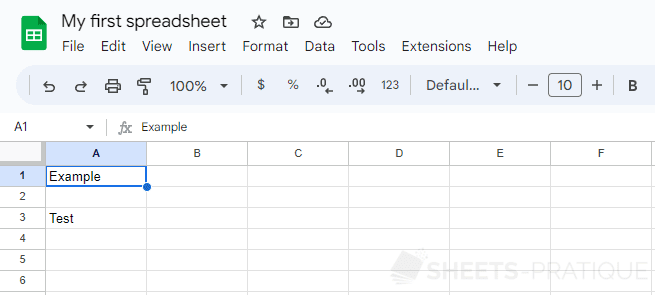
Adding Text
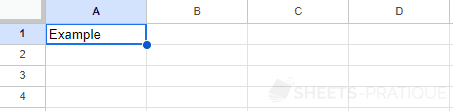
To enter text into one of the cells in the spreadsheet, simply click on the cell to select it, type your text, and press Enter to confirm:
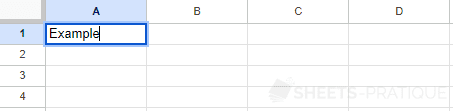
If you select the same cell and enter new text, it will replace the previous text.
To edit the text in a cell instead of replacing it, double-click on the cell (or simply press Enter if it is already selected):
Saving the Document
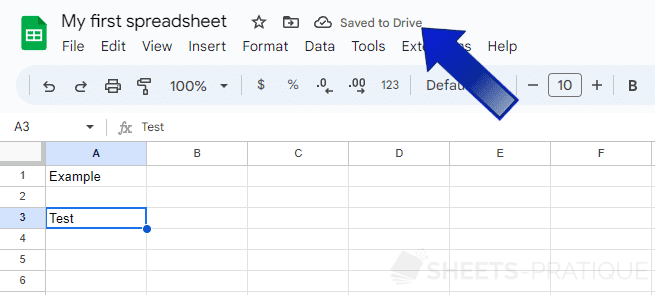
You may have already noticed that there is no "Save" option in the File menu... The reason is simple: Google Sheets saves your changes in real-time!
Make a modification to another cell and observe this:
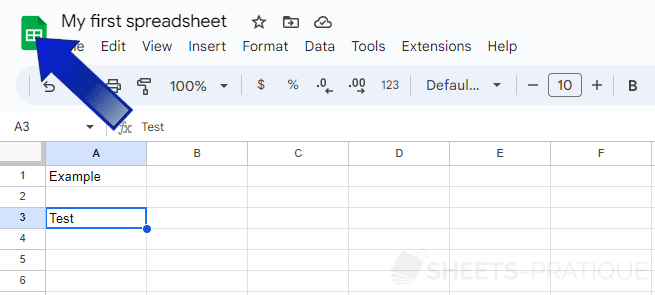
Now, exit this document and return to the Google Sheets homepage by clicking on the sheet logo on the left:
You will find your document (with its new name) on the homepage:

Now click on this document to open it again:
You will see that all the data is present, and the real-time saving has worked correctly.
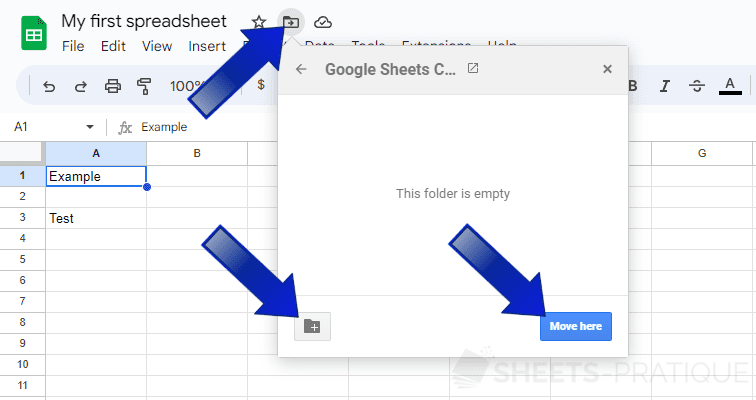
Changing Folders
Your document has been saved in the default folder of your Google Drive space.
To move it to a folder dedicated to this course, for example, click on the icon, then click on the button to create a new folder, and finally, click on the "Move here" button to move your document to this folder: